Cloud-Hosted Updates
Cloud-hosted SDA updates make the distribution of updates easy and automatic. To receive the updates, users don’t need to be connected to their network; a simple internet connection will do. In addition, updates will be applied automatically and “silently”, in the background, thus ensuring that users are up-to-date with the latest SDA app code and their client-specific content.
Set Up
Admins and users must install SDA Cloud Services on their PCs and also register as an SDA user by entering their email address and a password.

The password is generated by an admin from the User Admin view within SDA’s Dashboard.
Cloud-hosted updates are very straight-forward for end users. The availability of updates is checked every few minutes and those updates are automatically downloaded and installed “silently” in the background. End users have the option to immediately download and install the updates via a menu selection. In addition, they can download “beta” versions of an update – as a means of testing out new content or functionality – if their admin instructs them to do so.
Features for Admins
Select Files to Push Out – Admins can select which files in the Data, Forms and Tabs folders (underneath c:\CorsPro\PQuote) to push out to users.
Remove a File – Delete it or move it out of the folder and SDA will know to remove it from users’ hard drives.
To generate a list of the files that are being distributed to users, while in SDA, select Add-ins >> Help >> Updates >> List uploaded files.
Beta Updates Stream – Admins can push a “beta” update out to select users so that they can test the update before distributing it to all users. These users will need to specifically be instructed to download the beta update, which they can do by selecting Add-ins >> Help >> Updates >> Download and install BETA updates.
When a new “production” update is eventually pushed out, it will automatically overwrite the beta version.
- Distribute MULTIPLE databases – Cloud-hosted SDA updates can also be used to distribute non-SDA databases (mdb or accdb files) like company pricing catalogs, zip code databases, etc.
Cloud-Hosted Update Push
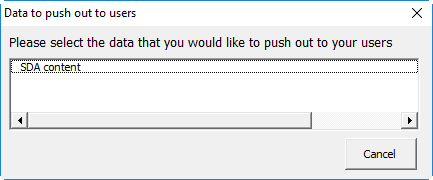
The very first time, admins will need to perform a download so that the PC can be authorized to upload an update to the cloud. Once that’s been done, updates can be uploaded by selecting Add-ins >> Help >> Updates >> Upload updates, then selecting the data to upload (usually “SDA content”).
Next…
- Select the forms, tabs and other data (from your Data, Forms and Tabs folders underneath c:\CorsPro\PQuote) to push out to users.
- Use the Control and/or Shift keys to select multiple items.
Once a file has been uploaded, it will NOT appear in this list again unless that file is later updated.
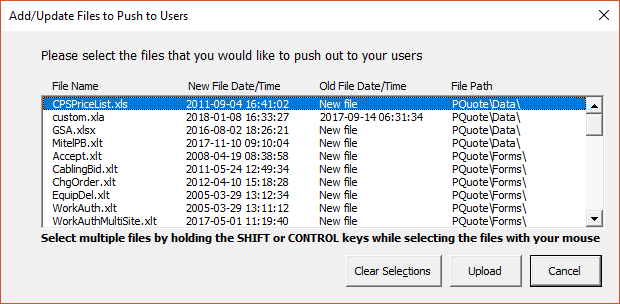
- Click the Upload button to upload the files and database. The uploaded updates will automatically be downloaded and installed by all registered SDA users.
New Users Must Install
- The core SDA desktop software
- SDA Cloud Services software.
Launch SDA via the desktop icon, SDA will prompt the user to register as an SDA user.
After entering their email address and password, which is obtained in an email that’s generated by the admin via SDA’s Dashboard, SDA will download and install the latest SDA application and client-specific content updates.
Return to Architect Manager User Guide